We must let go of the life we have imagined, so as to accept the one we are destined to create.

Although creating a storyboard might seem like an extra step in the video production process it should never be left out. A storyboard sketch helps you organize a story and the list of its contents. A storyboard helps you focus on the defined limits within your available resources and time. You create outlines for written essays, likewise for animation projects or video. When multiple people are working on a project together, you’ll use a storyboard as guide to ensure everyone is on the same page. Here are few suggestions we use when planning our video shoots.
Share your vision
Visual aids make it much easier for you to share and explain your vision to others. Who hasn’t had experiences trying to explain something to someone but the other person just doesn’t understand them visually? Often these cognitive issues happen when the participants don’t have experience visualizing something from text, such as a script. When you create a storyboard for your video you’re mapping out a plan for production, including all the shots needed, and the order that they’ll happen, and how the script will interact with the visuals. A storyboard is a throughline or starting point around which you plan your coverage (all the angles you will shoot in the scene). This comes in handy when you’re making a video, as it ensures you don’t forget any shots that help you piece together the scenes according to your vision.

Saves you time
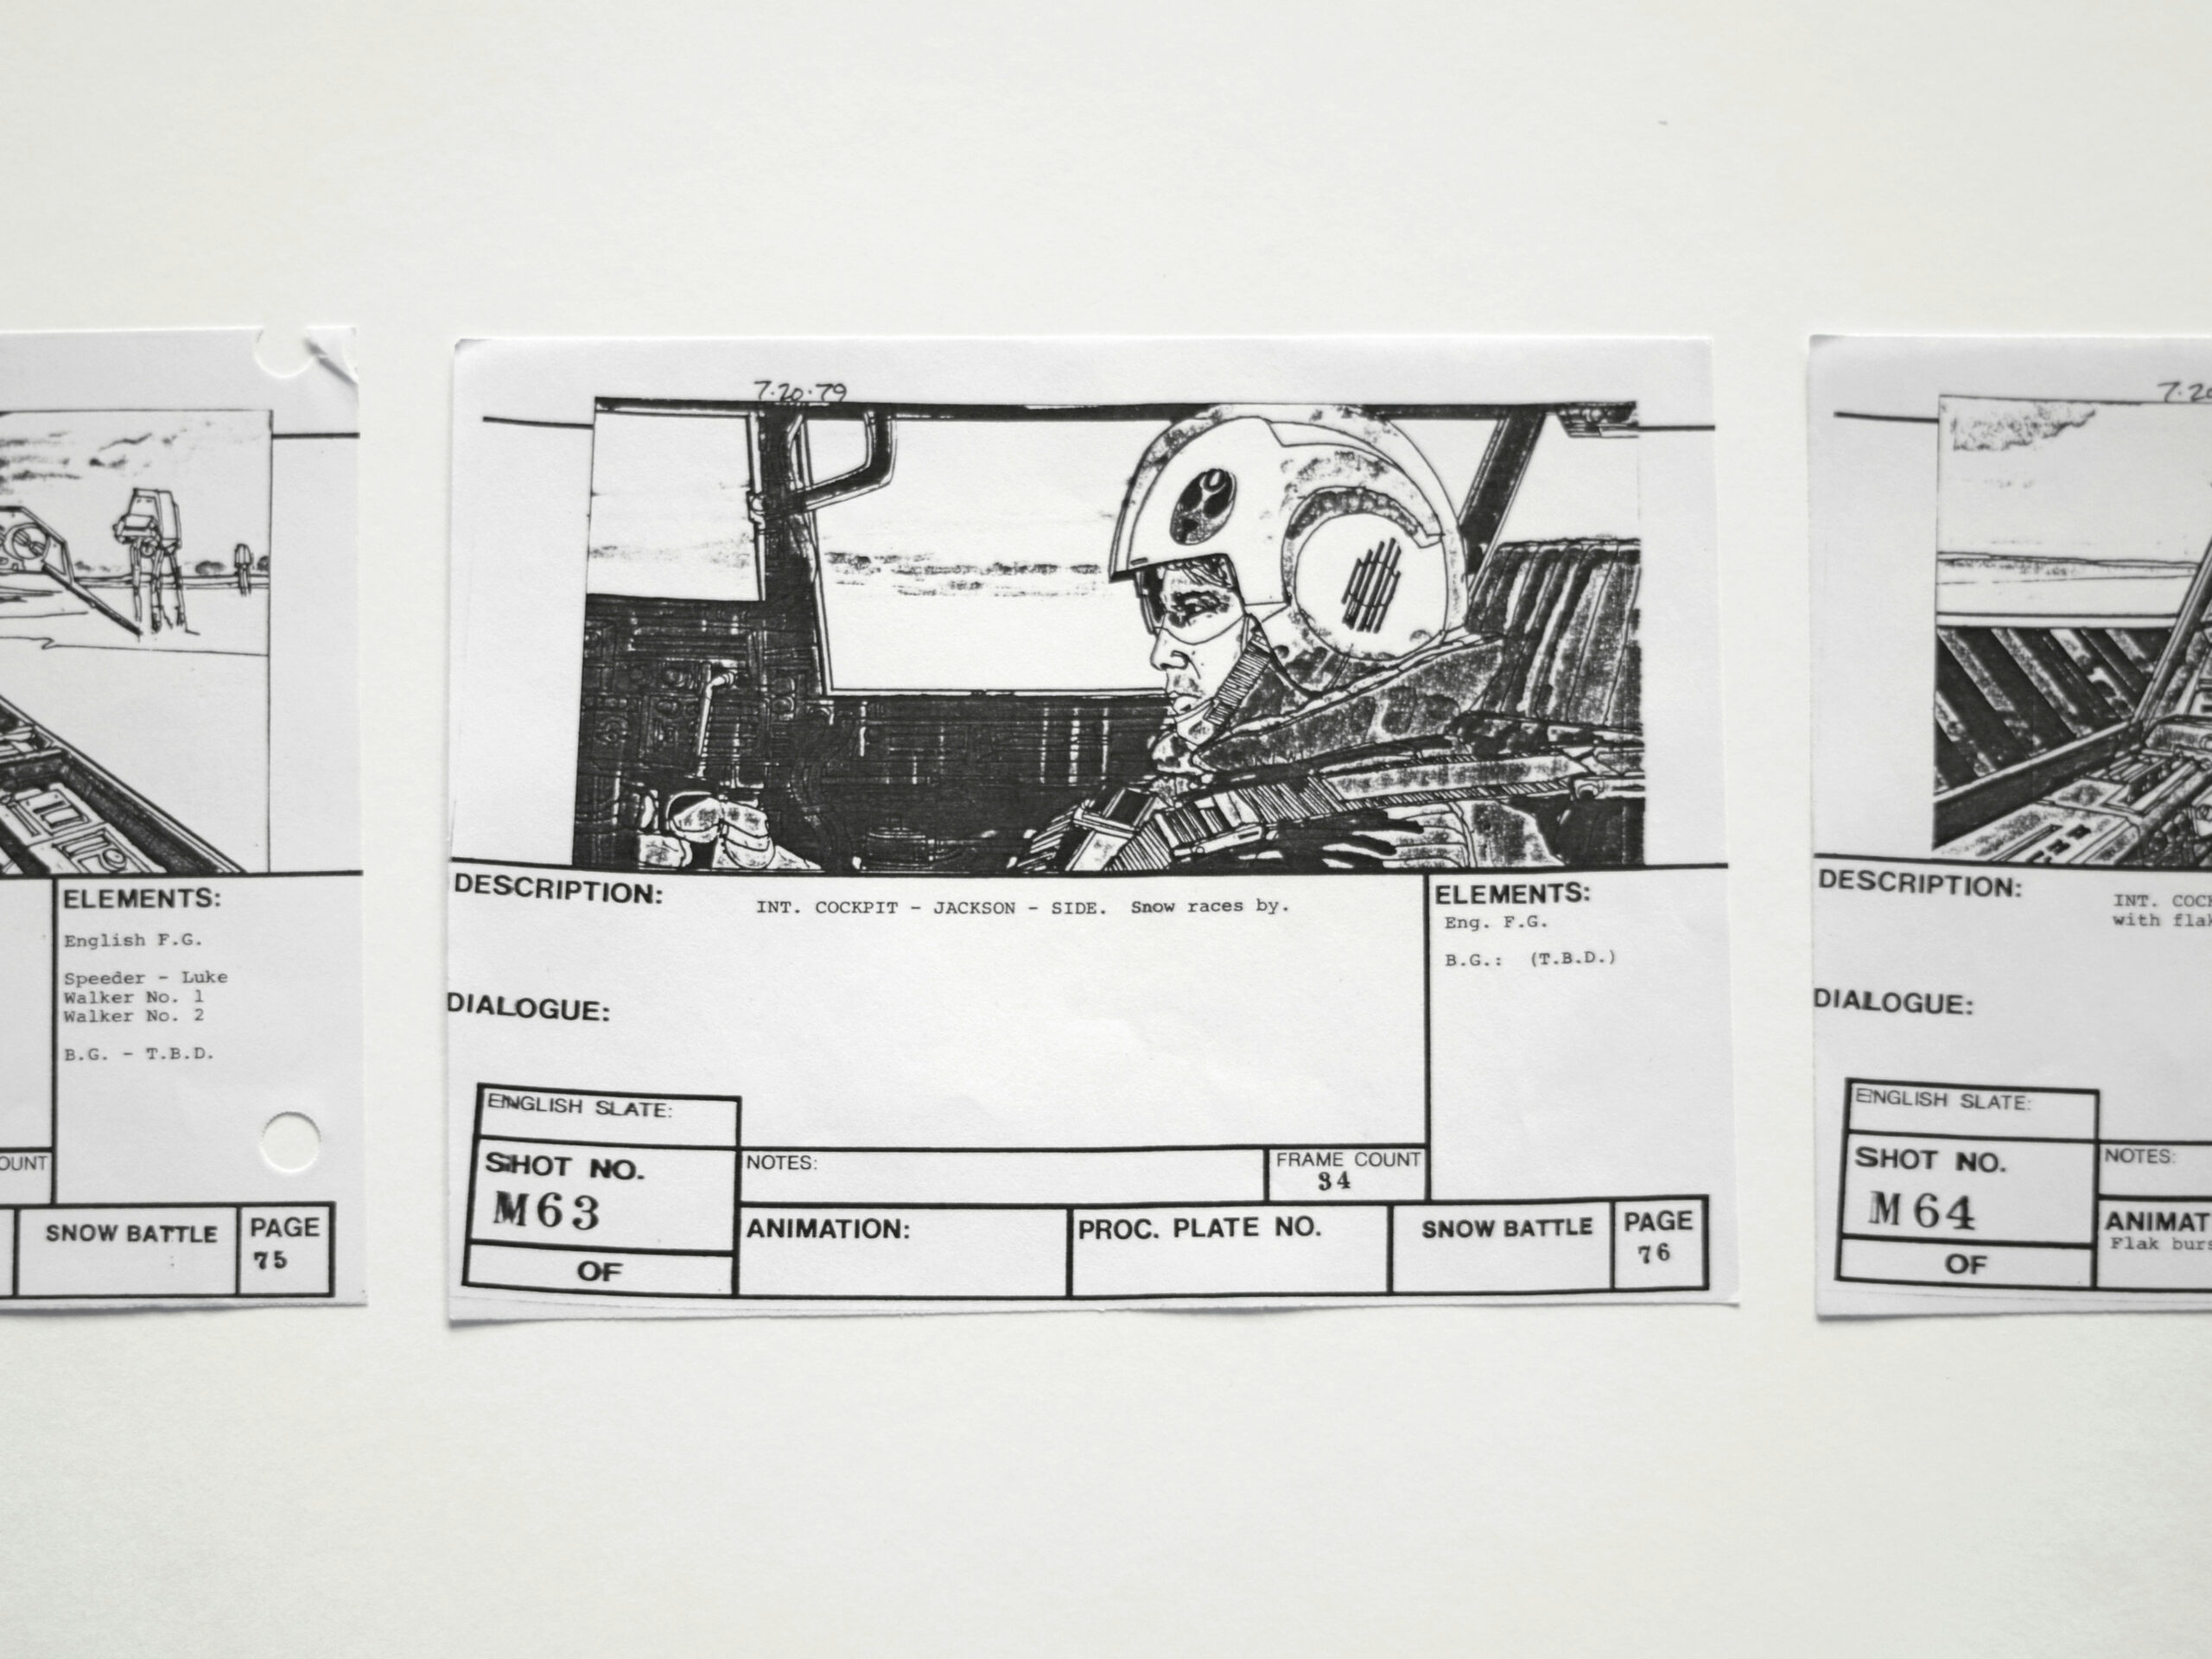
While creating a thorough storyboard requires some preparation beforehand, in the long run it saves you time with revisions. It helps you explain your vision to your team, and creates a smooth process. Take for example, the “Attack From Mars” storyboard below. Can you start to visualize the scenes throughout the illustrations as they start to unfold? Now imagine how easy you can alter a scene by simply removing and replacing it with the new one. Much better than having to reshoot and edit the scene in later.
Making a Storyboard
How exactly do you create storyboard? Here is a three-step process we find useful. It serves as a simple foundation to begin with.
Create slides
First step in creating a storyboard is to draw a series of squares on a piece of paper (there is an abundance of templates here.) Remember each square represents a video frame. A different shot or scene will take place per square. You can sketch the scenes by hand, or create them with a computer or combination of photographs. Leaving space to write notes and lines from the script beneath or next to each frame is always wise.
Write your script
Beneath each picture, write the lines from the script that will be spoken in that scene and jot down some notes about what is happening. Your storyboard should read like a comic book, so readers (coworkers, clients, etc.) can get a sense of exactly what will happen in your video.
Sketch the story
Try sketching how each scene will look visually. Note that, you don’t need to be great at drawing. A bad drawing is far better than no drawing at all. Providing enough visual detail to give an impression of what is happening, which characters are in the scene and what the general framing will look like is the goal. The script and notes will help fill in the rest of the details.
It’s also a good idea to make notes about the camera angles and movement, transitions between shots and any other details that will be helpful during production and post production.

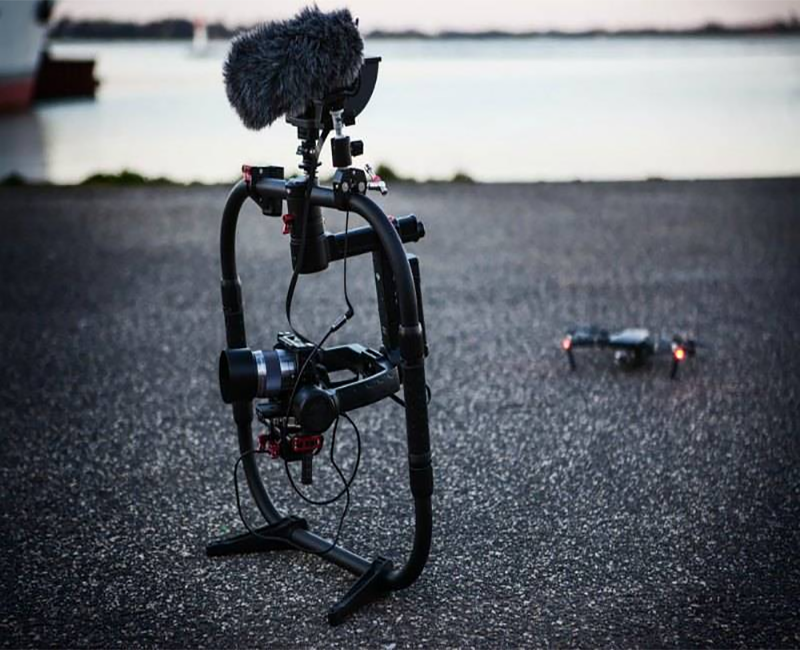
So, you want to shoot a video, do you know what equipment you need? Sometimes research and renting video equipment can seem like a daunting task. However, a good storyboard will denote which resources are needed.
There are many different filming angles and lighting effects that will increase your production value. Don’t be afraid to experiment with your top ideas. This will help filter out the impractical and refine the valuable.